Assembling the Horizon T101 treadmill can be a straightforward and rewarding experience, and this guide is designed to help you every step of the way. You’ll find clear instructions that simplify the process, ensuring that you can confidently put together your treadmill without feeling overwhelmed. We understand that starting a new fitness journey can be both exciting and daunting, so this guide aims to make the assembly as smooth as possible, allowing you to focus on what truly matters—enjoying your workouts and achieving your fitness goals. With a little patience and attention to detail, you’ll be ready to hit the ground running in no time!


Unbox the Treadmill
Carefully open the packaging and lift the treadmill out of the box. Use scissors or a box cutter, but be cautious to avoid damaging any components inside. Once the treadmill is free, lay out all the pieces on a flat surface. Check the parts list included in the manual to confirm you have everything needed for assembly, such as the console, safety key, and various bolts. If any items are missing, contact customer support for assistance.

Identify All Parts
Lay out all the components in a spacious area to ensure you can easily see everything. This includes:
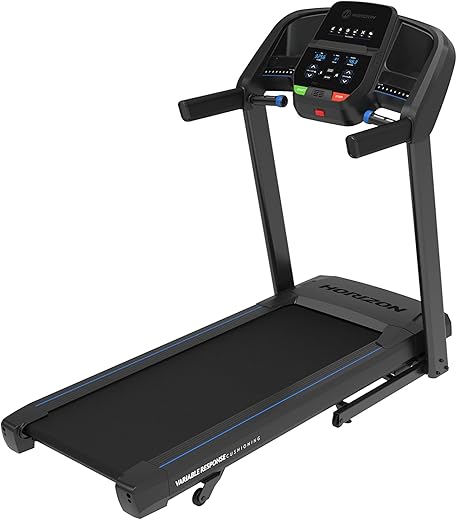
- Treadmill Frame: Identify the main structure that supports all other parts.
- Console: Find the control panel where you will adjust settings and view workout information.
- Handlebars: Locate the grips that provide stability during your workouts.
- Screws and Fasteners: Gather all screws, bolts, and washers needed for assembly.
- Additional Accessories: Collect items like safety keys, power cords, and any built-in features such as water bottle holders or tablet stands.
Make sure every part is present and accounted for before you start the assembly process. This step minimizes confusion and helps you avoid missing any pieces as you move forward.
Attach the Base Frame
Connect the base frame to the upright supports by aligning the holes on the frame with those on the supports. Insert the provided screws into each hole and tighten them securely using a screwdriver. Check the stability of the frame by gently shaking it; it should not wobble or move. Once you’ve confirmed that it’s stable, you can move on to the next steps in your assembly process.
Install the Console
Attach the console to the top of the upright supports. Ensure you align it properly, checking that the holes on the console match with those on the supports. Secure it firmly using the screws provided, and be sure to tighten them adequately. Verify that the console is level and stable by checking for any wobbling or misalignment before proceeding with further assembly.
Connect the Wiring
- Examine the wiring from the console and identify the corresponding connections on the treadmill base.
- Align the wires carefully, ensuring that each connector matches its designated port.
- Push the connectors together firmly until you hear a click, confirming they are securely attached.
- Inspect the wiring for any signs of pinching or damage, adjusting the placement if necessary to avoid any potential issues.
Attach the Handlebars
Screw the handlebars into place, ensuring they are firmly attached and secure. Use the provided screws and tighten them with a screwdriver, making sure they are not overly tight to avoid any damage. Align the handlebars properly with the console for ease of use; they should be parallel and comfortably positioned for your grip. Double-check the alignment before moving on to ensure a smooth and safe riding experience.
Secure the Safety Key
Locate the safety key, which is usually a small, red or magnetic piece. Insert the safety key into the designated slot on the console; this slot is typically marked for easy identification. Ensure it is securely in place, as this crucial safety feature enables the treadmill to function properly and helps prevent any accidental starts. Check that the key is firmly attached before you proceed with your workout.
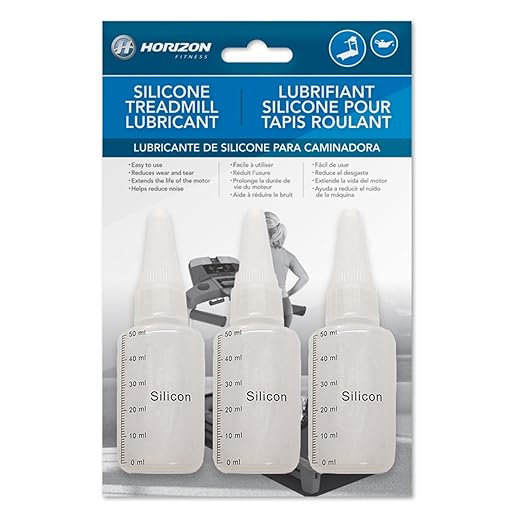
Adjust the Tension
Check the treadmill manual for specific instructions on adjusting the belt tension. Locate the tension adjustment bolts, usually found at the rear of the treadmill. Use an appropriate tool, like an Allen wrench, to turn the bolts clockwise to tighten or counterclockwise to loosen the belt. Test the belt after adjustments to ensure it runs smoothly and doesn’t slip during your workouts.
Final Check
Inspect the entire assembly thoroughly. Tighten any loose screws and ensure that all components are securely fastened. Pay special attention to joints and connections, as these are critical for stability. Confirm that no parts are left loose, as this can lead to malfunctions or damage when the assembly is in use.
Final Steps to Assembly
In conclusion, you’ve now completed the assembly of your Horizon T101 treadmill! By following the steps outlined in this guide, you’ve set the stage for safe and enjoyable workouts. Remember to regularly check for any loose parts and keep your treadmill clean to ensure it stays in top shape. Now, it’s time to lace up your sneakers and embark on your exciting fitness journey—enjoy every step!
Essential Equipment Needed


Maximize Your Setup
Step-by-Step Guide to Operating Your Horizon T101 Treadmill
- Familiarize Yourself with the Controls: Start by getting to know the console. Take a moment to explore the buttons and features, including speed adjustments, incline settings, and preset workout programs. This will help you feel more comfortable when you start your workout
- Set Up Properly: Before you begin, make sure to adjust the treadmill to suit your height. Stand on the side rails while the treadmill is off, and set the belt to a comfortable walking speed (around 2-3 mph is a great starting point). Remember to attach the safety key to your clothing for safety
- Warm Up: Always start with a 5-10 minute warm-up at a slow pace to prepare your body for exercise. This will help prevent injuries and get your muscles ready for a workout
- Start Walking or Jogging: Once you’re warmed up, gradually increase your speed to a comfortable walking or jogging pace. If you’re new to exercise, it’s perfectly fine to stick with walking until you feel ready to try jogging
- Cool Down and Stretch: After your workout, spend 5-10 minutes walking at a slower pace to cool down. Once you’re finished, don’t forget to stretch your muscles to help with recovery
- Enjoy your workouts on the Horizon T101 treadmill! Happy exercising!
What about tips for maintenance after assembly? Like how to keep it running smoothly or if there are any specific cleaning tips? That would be super helpful!
Hey! I’m stuck on step 5 about connecting the wiring. Can anyone explain which wires go where? I don’t want to mess this part up!
Hey there! Great question! The wiring should be color-coded—just match the colors of the wires from the console to those in the base frame. If you’re still unsure, the manual has a handy diagram that might help clarify things!
Pro tip: When you’re adjusting the tension in step 8, it helps to test it out with a quick jog before you finish everything. You want to make sure it feels just right before you get all set up!
I just assembled my Horizon T101 last weekend and it was surprisingly easy! I was worried about the console installation, but it went smoothly. Now I’m loving my morning runs on it!
I actually did step 4 a bit differently. Instead of using the screws provided, I used some that were a bit longer to ensure the console is extra secure. Just a little tweak that worked for me!
That’s a cool variation! As long as the console is secure and stable, it’s all good. Just remember not to compromise on safety! Thanks for sharing!